Setup guide
Connect athletedata to Cursor
Add the athletedata MCP server to Cursor so you can query your training data inline while you work. Takes about a minute.
Heads up: Cursor MCP integrations require a paid Cursor plan (Pro or Business).
1
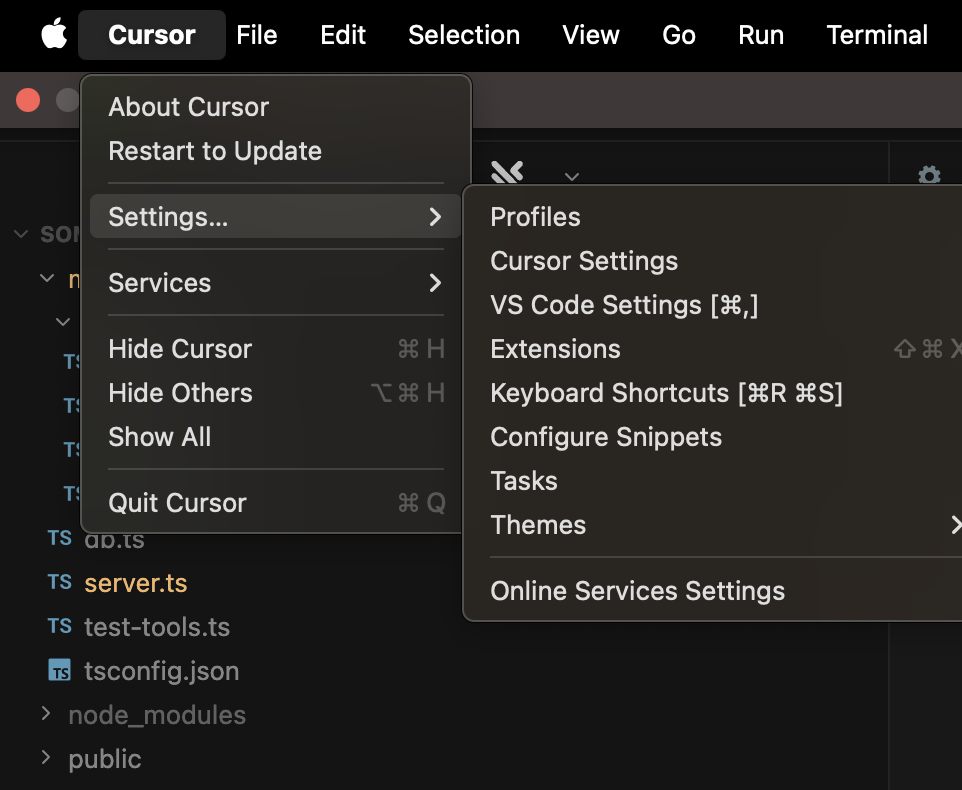
Open Cursor Settings
In the menu bar, click Cursor → Settings... → Cursor Settings.
2
Go to Tools & MCP
In the settings sidebar, click Tools & MCP. You should see your installed MCP servers (if any) and a New MCP Server entry at the bottom.

3
Add a new MCP server
Click New MCP Server → Add a Custom MCP Server. Cursor opens the mcp.json file.
Grab the JSON config from your dashboard using the Copy JSON config button, then paste it into Cursor's mcp.json.
For reference, the config looks like this:
{
  "mcpServers": {
    "athletedata": {
      "command": "npx",
      "args": [
        "mcp-remote",
        "https://mcp.athletedata.health/mcp?apiKey=YOUR_API_KEY"
      ]
    }
  }
}
4
Save and start using it
Save the file. Cursor picks up the new server automatically and the athletedata tools become available in the chat panel. Try asking:
What was my average HRV last week, and how does it compare to my 30-day baseline?
Not working?
- If Cursor shows an MCP configuration error banner, the JSON is malformed - re-copy it from the dashboard and replace the entire file contents.
- Make sure your athletedata subscription is active - check your billing page.
- Connect at least one app (Strava, Garmin, WHOOP, etc.) on the integrations page - otherwise the tools have nothing to query.
- Stuck? Email team@athletedata.health and we'll help directly.